
Betcris para jugadores hondureños: cómo revisar cuenta apuestas y pagos
Betcris es una marca conocida por usuarios que buscan apuestas deportivas y casino online en Honduras. Antes de registrarse, depositar o elegir una cuota, conviene entender cómo se organiza la plataforma, qué debe revisar el jugador y por qué la seguridad de la cuenta es tan importante como el catálogo de mercados. Una casa de apuestas no debe evaluarse solo por sus promociones o por la cantidad de eventos disponibles. También importan la información legal, los métodos de pago, las reglas de retiro, la verificación de identidad y la atención al cliente.
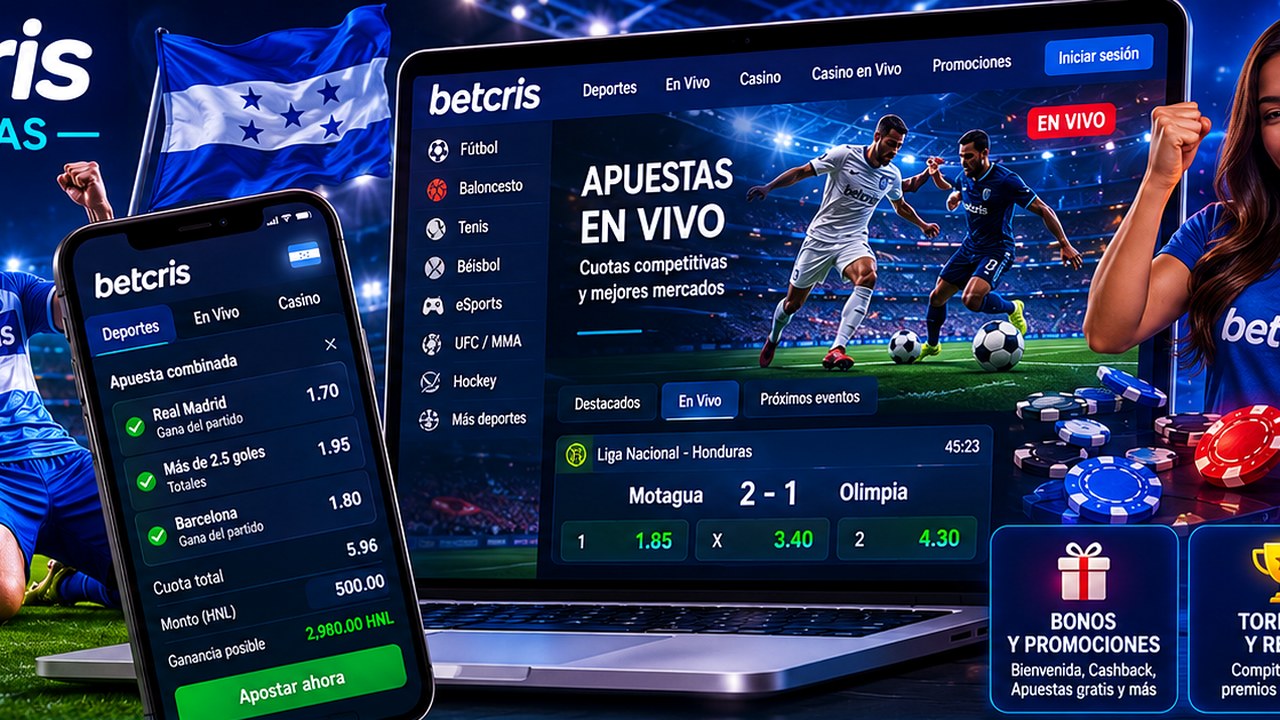
image placeholder 1
Esta guía explica qué es Betcris Honduras y cómo funciona para apuestas y casino online, cómo interpretar si Betcris Honduras es seguro: licencia, verificación y protección de datos, cómo funcionan las cuotas, mercados y apuestas en vivo en Betcris HN, y qué revisar sobre métodos de pago y retiros en Betcris Honduras: tiempos, límites y requisitos. El enfoque es práctico: leer antes de jugar, revisar antes de pagar y mantener límites personales claros.
El centro oficial de ayuda de Betcris describe sus términos como aplicables a fondos y apuestas aceptados por la plataforma, y también presenta el sitio como una plataforma de entretenimiento con apuestas deportivas en línea y otros juegos de dinero real. Por eso, el usuario debe tratar la cuenta como un perfil sensible, no solo como una página de entretenimiento.
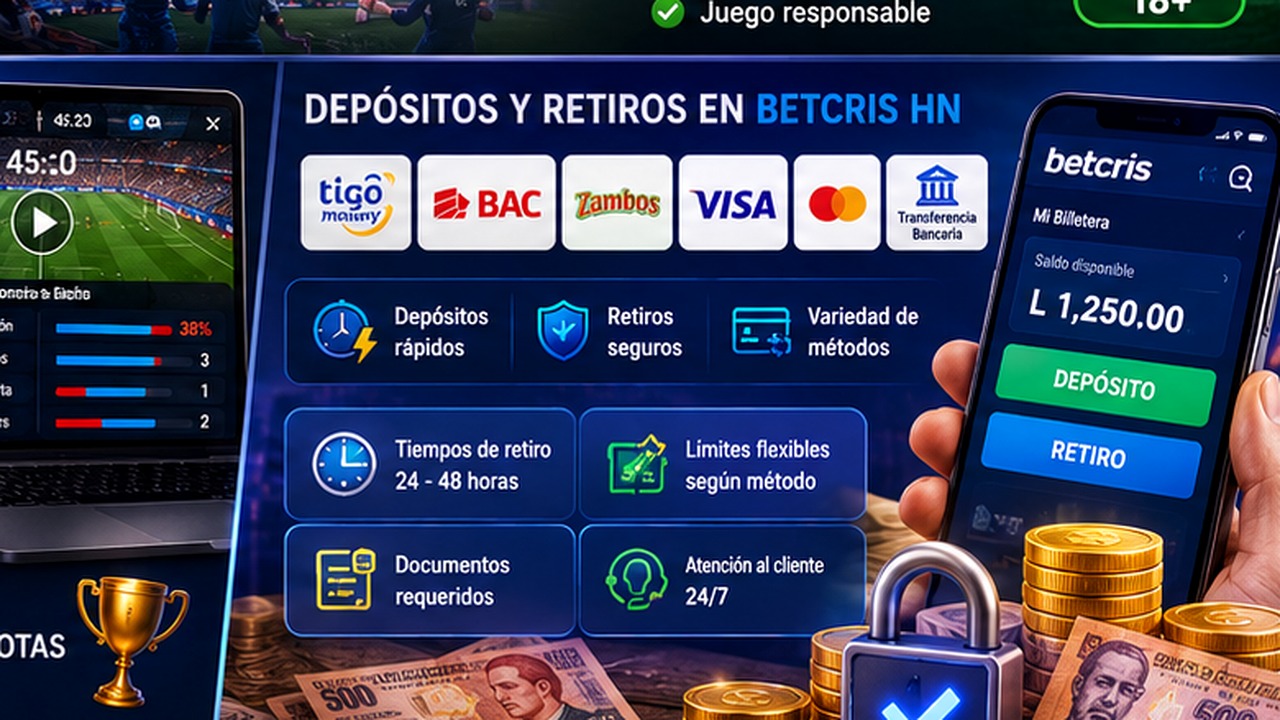
image placeholder 2
Antes de apostar, conviene entender cómo se conecta el perfil con deportes, casino, promociones y caja.
Qué es Betcris Honduras y cómo funciona para apuestas y casino online
Qué es Betcris Honduras y cómo funciona para apuestas y casino online es la primera pregunta que debería hacerse cualquier usuario nuevo. En términos sencillos, Betcris ofrece una experiencia centrada en apuestas deportivas, eventos en vivo, mercados prepartido y, según disponibilidad del perfil, secciones de casino online. El usuario crea una cuenta, accede a su perfil, revisa el saldo, abre el boleto de apuesta o el casino, consulta promociones y gestiona operaciones desde la caja.
El funcionamiento real depende del perfil del jugador, del país, de los métodos disponibles y de las condiciones vigentes. Por eso no conviene asumir que todas las cuentas muestran exactamente las mismas opciones. La forma más segura de entender la plataforma es revisar la información dentro del propio perfil y consultar el centro de ayuda cuando una regla no esté clara.
Cómo empieza la experiencia de usuario
El recorrido normal comienza con el acceso al sitio correcto y la creación de cuenta. Después del registro, el usuario puede revisar deportes, casino, promociones, métodos de pago y ajustes del perfil. Lo importante es que cada parte de la plataforma se conecta con las demás. Una cuenta incompleta puede complicar un retiro. Un bono mal entendido puede cambiar la forma en que se calcula el saldo disponible. Un mercado deportivo mal leído puede generar una apuesta distinta a la esperada.
- crear una cuenta con datos reales y actualizados
- revisar el perfil antes de depositar
- consultar deportes, casino y promociones desde la cuenta activa
- leer reglas de apuestas y condiciones de bonos
- comprobar métodos de pago visibles en la caja
- mantener el correo y el teléfono bajo control personal
Este proceso parece básico, pero evita muchos problemas. Un usuario que se registra con información correcta y revisa las condiciones antes de jugar suele tener una experiencia más ordenada.
Apuestas deportivas y casino online
La parte deportiva permite seleccionar eventos, mercados y cuotas. El casino online, cuando está disponible para el usuario, puede incluir tragamonedas, juegos de mesa o juegos con crupier en vivo. Cada sección tiene reglas distintas. En deportes, el usuario debe entender mercados y liquidación. En casino, debe revisar reglas del juego, rango de apuesta y condiciones de bonus si participa en promociones.
- en apuestas deportivas importan mercado, cuota y tipo de boleto
- en casino importan reglas, volatilidad y rango de apuesta
- en juegos en vivo importa la estabilidad de conexión
- en promociones importan rollover, vencimiento y juegos elegibles
- en pagos importan método, límites, verificación y tiempos
La mejor forma de usar Betcris es no mezclar todas las secciones como si funcionaran igual. Una apuesta deportiva, una tirada de tragamonedas y un retiro desde la caja tienen reglas diferentes y deben revisarse por separado.
El usuario debe revisar información legal, acceso seguro, verificación y protección de la cuenta.
Betcris Honduras es seguro: licencia verificación y protección de datos
Betcris Honduras es seguro: licencia, verificación y protección de datos es un tema que debe analizarse con cuidado. La seguridad no se mide solo por el aspecto visual del sitio ni por la fama de la marca. El jugador debe revisar la información legal disponible, los términos y condiciones, las políticas de privacidad, la conexión segura, las herramientas de cuenta y los procesos de verificación.
El centro oficial de ayuda de Betcris identifica a TV Global Enterprises Ltd como empresa constituida en Malta en sus términos y condiciones. Este tipo de información legal es una referencia importante, pero el jugador debe comprobar siempre la versión actual de los documentos dentro del sitio que está usando.
Qué debe revisar el jugador antes de confiar en una cuenta
Antes de depositar o apostar, el usuario debe realizar una revisión básica. No hace falta ser experto en tecnología. Basta con observar si el dominio parece correcto, si el sitio usa conexión segura, si las secciones legales son accesibles y si el soporte aparece de forma clara. También conviene evitar enlaces recibidos por mensajes no solicitados.
- comprobar el dominio antes de iniciar sesión
- verificar que la conexión sea segura
- leer términos, condiciones y políticas disponibles
- buscar información sobre verificación y pagos
- evitar páginas copiadas o enlaces sospechosos
- contactar soporte si algo no parece coherente
Estas comprobaciones no eliminan todo riesgo, pero ayudan a detectar señales de alerta. Un sitio que maneja apuestas y pagos debe ofrecer información clara y accesible.
Verificación y protección de datos
La verificación de identidad puede solicitarse para proteger la cuenta, revisar operaciones o validar solicitudes de retiro. El usuario debe ingresar datos reales desde el registro porque, si más adelante se piden documentos, la información debe coincidir. Usar datos de otra persona o métodos de pago ajenos puede generar problemas.
- usar nombre y datos reales en el perfil
- mantener actualizados correo y teléfono
- preparar documentos claros si se solicita KYC
- usar métodos de pago propios
- no compartir contraseñas ni códigos de acceso
La protección de datos depende tanto de la plataforma como del usuario. Una contraseña débil o una sesión abierta en un dispositivo compartido pueden comprometer la cuenta aunque el sitio tenga medidas de seguridad.
La cuota, el mercado y el boleto deben revisarse hasta el último paso antes de confirmar.
Cómo funcionan las cuotas mercados y apuestas en vivo en Betcris HN
Cómo funcionan las cuotas, mercados y apuestas en vivo en Betcris HN es una parte esencial para cualquier usuario que quiera apostar con más criterio. Una cuota indica el precio ofrecido para un resultado. Un mercado indica el tipo de apuesta. El boleto resume selección, cuota, importe y posible retorno. Si el jugador no entiende estos tres elementos, puede confirmar apuestas que no corresponden a su intención.
Las cuotas pueden cambiar antes de confirmar una apuesta. En vivo, los cambios suelen ser más rápidos. Por eso el usuario debe revisar el boleto hasta el último momento y aceptar solo si el mercado, la cuota y el monto siguen siendo correctos.
Cuotas y cálculo básico
En formato decimal, el cálculo es sencillo:
Si una persona apuesta 100 HNL a una cuota de 2.00, el retorno posible sería 200 HNL si la apuesta gana. Si la cuota es 1.50, el retorno posible sería 150 HNL. Este cálculo solo explica la mecánica. No convierte una selección en segura.
También se puede estimar una probabilidad implícita:
Una cuota de 2.00 equivale aproximadamente a 50 por ciento de probabilidad implícita antes del margen. Una cuota de 4.00 equivale aproximadamente a 25 por ciento. Esta lectura ayuda a interpretar precios, pero no garantiza resultados.
Mercados deportivos frecuentes
Los mercados pueden variar según deporte, competición y momento del evento. En fútbol, los usuarios suelen encontrar ganador del partido, doble oportunidad, total de goles, hándicap, ambos equipos anotan y marcador exacto. En otros deportes, los mercados pueden centrarse en sets, puntos, juegos, hándicaps o resultados por periodo.
- ganador del partido
- doble oportunidad
- total de goles o puntos
- hándicap
- marcador exacto
- resultado al descanso o final
- mercados por jugador o equipo
Cuanto más específico sea el mercado, más importante es leer la regla de liquidación. No es lo mismo apostar al ganador final que al resultado del primer tiempo o a un hándicap concreto.
Apuestas en vivo
Las apuestas en vivo permiten apostar mientras el evento está en desarrollo. Las cuotas se ajustan por marcador, tiempo restante, rendimiento, lesiones, tarjetas u otros factores. La plataforma puede pausar mercados durante momentos importantes y reabrirlos después con nuevas cuotas.
- las cuotas pueden cambiar en segundos
- algunos mercados pueden suspenderse temporalmente
- el boleto puede actualizarse antes de confirmar
- las estadísticas pueden llegar con retraso
- la emoción del evento puede llevar a decisiones impulsivas
En vivo, la velocidad es parte del atractivo, pero también del riesgo. Si el boleto cambia, el usuario debe revisarlo de nuevo. Confirmar por impulso suele ser una de las principales fuentes de errores.
Métodos, límites, requisitos y tiempos pueden variar por cuenta, ubicación y verificación.
Métodos de pago y retiros en Betcris Honduras: tiempos límites y requisitos
Métodos de pago y retiros en Betcris Honduras: tiempos, límites y requisitos es un tema clave porque el usuario necesita saber cómo entra y sale el dinero de la cuenta. Los métodos disponibles pueden depender del país, del perfil, de la verificación y de la configuración vigente. El centro oficial de ayuda indica que la disponibilidad de métodos puede variar por ubicación y otros factores, y recomienda revisar la caja para conocer las opciones disponibles.
No conviene asumir que todos los métodos tienen los mismos límites o tiempos. La caja del perfil es el lugar más importante para revisar la información actual. También se deben leer las condiciones antes de solicitar un retiro, especialmente si hay bonos activos o verificación pendiente.
Depósitos en Betcris Honduras
Antes de depositar, el usuario debe abrir la caja y comprobar qué métodos aparecen. También debe revisar moneda, mínimos, máximos y posibles condiciones relacionadas con promociones. Si el depósito se realiza para activar un bono, hay que comprobar si el método seleccionado participa en esa promoción.
- revisar métodos visibles en la caja
- comprobar moneda y conversión si aparece
- leer mínimos y máximos disponibles
- confirmar si el método califica para bonos
- verificar los datos antes de enviar el pago
Un depósito bien revisado evita errores comunes. Si el usuario deposita sin leer, puede descubrir después que el método no activaba un bono o que la operación tenía condiciones distintas.
Retiros y requisitos
La información oficial de retiros de Betcris señala que los métodos y límites no son iguales para todos los clientes y pueden basarse en factores como el país. También indica que no se permiten retiros con información de terceros y que, en general, el cliente debe jugar el 100 por ciento de su depósito para poder retirarlo, con excepciones específicas indicadas por la propia plataforma.
- usar métodos de pago propios
- revisar si la cuenta requiere verificación
- comprobar límites de retiro en la caja
- leer condiciones de bonos antes de retirar
- evitar múltiples solicitudes sin entender el estado de la primera
Un retiro puede tardar por revisión interna, método de pago, verificación o condiciones del saldo. Si una solicitud permanece pendiente, es mejor revisar mensajes de la plataforma y contactar soporte con datos claros.
Ejemplo de método local
El centro de ayuda de Betcris incluye información específica sobre Tigo Money para Honduras y señala que la disponibilidad puede estar sujeta a cambios por ubicación y otros factores. En ese tipo de métodos, la plataforma presenta límites y condiciones directamente en la ayuda o en la caja, por lo que el usuario debe verificar siempre la información actual antes de retirar.
Este ejemplo muestra por qué es importante no generalizar. Un método puede ser útil para un usuario y no estar disponible en las mismas condiciones para otro. La información actual del perfil siempre debe tener prioridad.
Sportsbook y casino no se leen igual: cada área tiene reglas, ritmo y riesgos distintos.
Casino online en Betcris: juegos bonos y diferencias con sportsbook
Betcris puede combinar apuestas deportivas y casino online, pero ambas áreas funcionan con lógicas distintas. En sportsbook, el usuario analiza eventos, cuotas y mercados. En casino, el jugador debe revisar reglas de juego, rango de apuesta, RTP si está visible, volatilidad y condiciones de bonus. Un error común es aplicar la misma mentalidad a todo. No es lo mismo apostar a un partido que jugar una tragamonedas o una ruleta en vivo.
- en sportsbook importa el mercado y la liquidación
- en tragamonedas importa la mecánica del juego y el rango de apuesta
- en casino en vivo importa la estabilidad de conexión
- en bonos importa el rollover y los juegos elegibles
- en retiros importa el estado del saldo y la verificación
Separar estas áreas ayuda a tomar mejores decisiones. Un bono de casino puede no funcionar como un bono deportivo, y una regla de retiro puede depender del estado completo del saldo.
El nombre de un bono no basta: la mecánica real está en sus reglas.
Bonos y promociones en Betcris
Los bonos pueden incluir ofertas deportivas, promociones de casino, freebets, giros, recargas o campañas temporales. Cada una tiene reglas propias. El usuario debe revisar si la promoción requiere depósito, cuota mínima, rollover, juegos elegibles, fecha de vencimiento o apuesta máxima. El nombre de un bono no basta para entenderlo.
Una fórmula sencilla para comprender el rollover es:
Si una promoción usa una base de 1.000 HNL y exige rollover x10, el volumen teórico sería 10.000 HNL. Si la base incluye depósito más bono, el cálculo cambia. Este ejemplo es solo explicativo. La promoción activa debe leerse dentro de la cuenta.
Un mensaje claro ayuda más que una queja sin contexto.
Soporte y solución de problemas
El soporte puede ser necesario si un retiro se retrasa, una apuesta se liquida de forma inesperada, un bono no aparece o la verificación solicita documentos. Para recibir ayuda más clara, el usuario debe escribir con datos concretos: fecha, método, número de boleto si existe, nombre de promoción, captura sin información sensible y explicación breve del problema.
- describir el problema con claridad
- incluir fecha y sección afectada
- evitar compartir contraseñas o códigos OTP
- adjuntar capturas sin datos sensibles
- esperar respuesta antes de repetir operaciones
Un mensaje ordenado facilita la respuesta. En cambio, escribir sin contexto puede alargar la solución.
Las apuestas deben mantenerse dentro de un presupuesto y un tiempo definidos.
Juego responsable
Betcris debe usarse como entretenimiento, no como forma de resolver problemas económicos. Las apuestas deportivas y los juegos de casino tienen riesgo. Las cuotas, estadísticas, bonos o promociones no garantizan resultados. Antes de apostar, el usuario debe definir un presupuesto y una duración máxima de sesión.
Si aparece ansiedad, presión por recuperar pérdidas o dificultad para detenerse, es mejor hacer una pausa. Si la plataforma ofrece límites, periodos de descanso o herramientas de autoexclusión, pueden ser útiles. Las apuestas y el casino online deben ser usados solo por personas adultas.
Betcris: conclusión para Honduras
Betcris puede ser una opción de interés para usuarios hondureños que buscan apuestas deportivas y casino online, pero la experiencia debe evaluarse con calma. Qué es Betcris Honduras y cómo funciona para apuestas y casino online permite entender la estructura general de cuenta, deportes, casino y pagos. Betcris Honduras es seguro: licencia, verificación y protección de datos recuerda que el usuario debe revisar información legal y proteger su acceso.
Cómo funcionan las cuotas, mercados y apuestas en vivo en Betcris HN muestra la importancia de leer cada boleto antes de confirmar. Métodos de pago y retiros en Betcris Honduras: tiempos, límites y requisitos destaca que la caja, los términos y el centro de ayuda son esenciales para evitar malentendidos. El mejor enfoque es simple: verificar, leer, apostar con límite y retirar siguiendo las condiciones del perfil.
FAQ
Qué es Betcris
Betcris es una plataforma de apuestas deportivas y entretenimiento online donde los usuarios pueden crear cuenta, revisar mercados, apostar, acceder a juegos y gestionar pagos según opciones disponibles.
Qué es Betcris Honduras y cómo funciona para apuestas y casino online
Funciona mediante una cuenta personal desde la que el usuario puede acceder a deportes, casino, promociones, caja y soporte. Cada sección tiene reglas propias que deben leerse antes de usar dinero real.
Betcris Honduras es seguro: licencia verificación y protección de datos qué revisar
Conviene revisar el dominio, la conexión segura, los términos, la información legal, las políticas de datos, los procesos de verificación y el uso de métodos de pago propios.
Cómo funcionan las cuotas mercados y apuestas en vivo en Betcris HN
Las cuotas muestran el precio de un resultado, los mercados definen qué se apuesta y las apuestas en vivo cambian según el desarrollo del evento. El boleto debe revisarse antes de confirmar.
Métodos de pago y retiros en Betcris Honduras: tiempos límites y requisitos dónde se revisan
La información más actual debe revisarse en la caja del perfil y en el centro de ayuda. Los métodos, límites y tiempos pueden variar por país, perfil y método seleccionado.
Betcris garantiza ganancias
No. Ninguna plataforma de apuestas o casino online garantiza ganancias. El usuario debe apostar solo como entretenimiento, con límites personales y sin perseguir pérdidas.